This tutorial is all about how to make the Herringbone Double Crochet / Double Crochet together.
This stitch is used to create a straight edge after a row of Herringbone Double Crochet (HBdc).
It is like a dc2tog, except the first part is a partial (almost finished) HBdc and the second part is a partial dc.
Don’t worry it sounds way worse than it is! If you can do a HBdc and a dc2tog then you’ve got this!
I used this stitch as the basis for my Sundae Cardigan to make nice straight edges for each panel so it’s nice and easy to add the edging later. If you’d like to make the Sundae Cardigan you will be able to buy the pattern through Etsy, Ravelry, Love Crafts or the VK Store on the 5th of July 2020.
Right, so on to how to make the HBdc/dc tog.
Here are the written instructions with a photo tutorial. Scroll down to watch the video tutorial.
Written Instructions
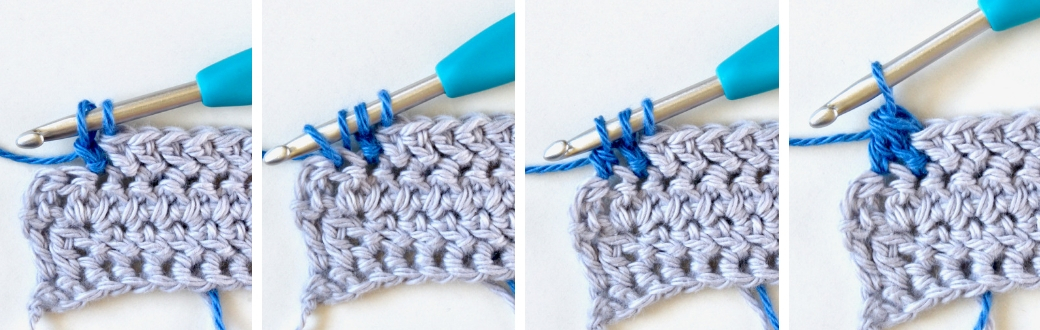
Yo, insert hook into st, yo and pull loop through the st and then through the first loop of the hook (2 loops on hook), *this creates the slip stitch of the HBdc
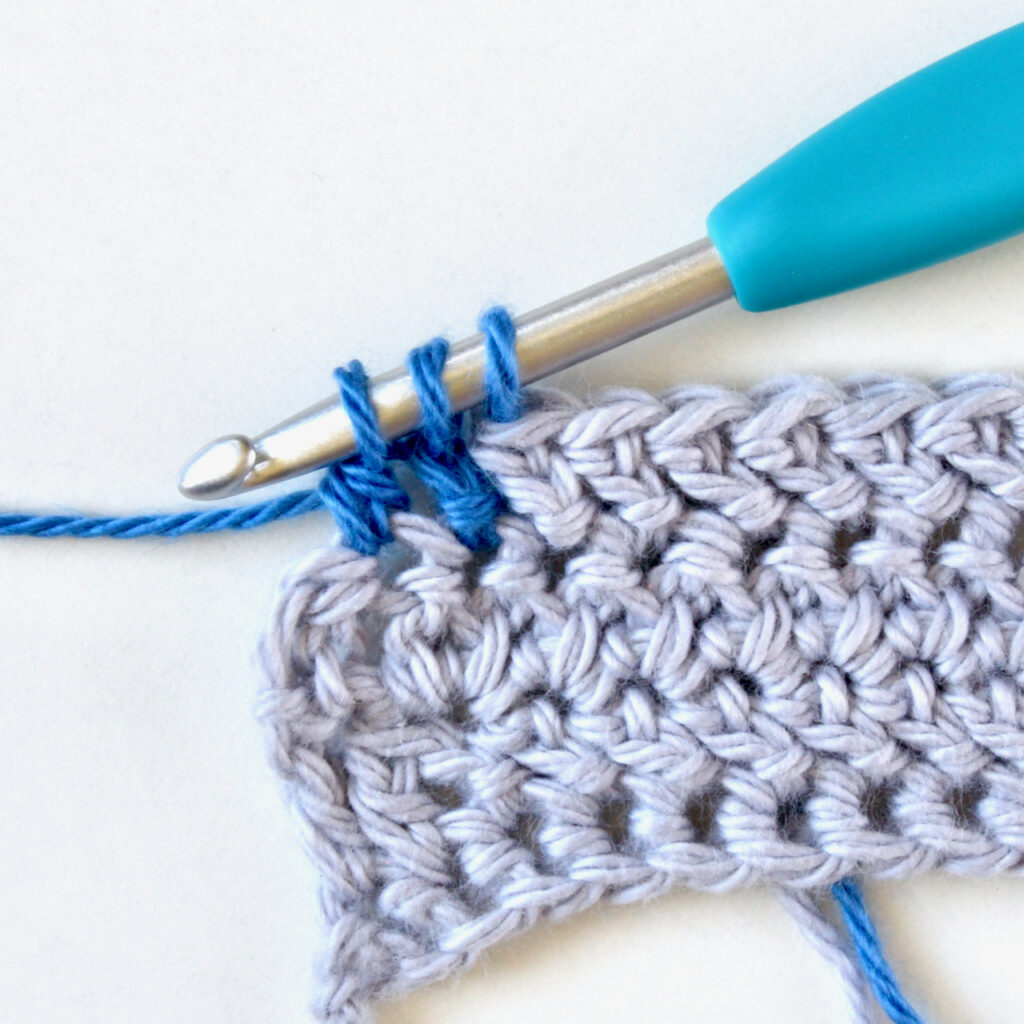
yo and pull through 1 loop (2 loops on hook), *see photo 1, this is the partial HBdc
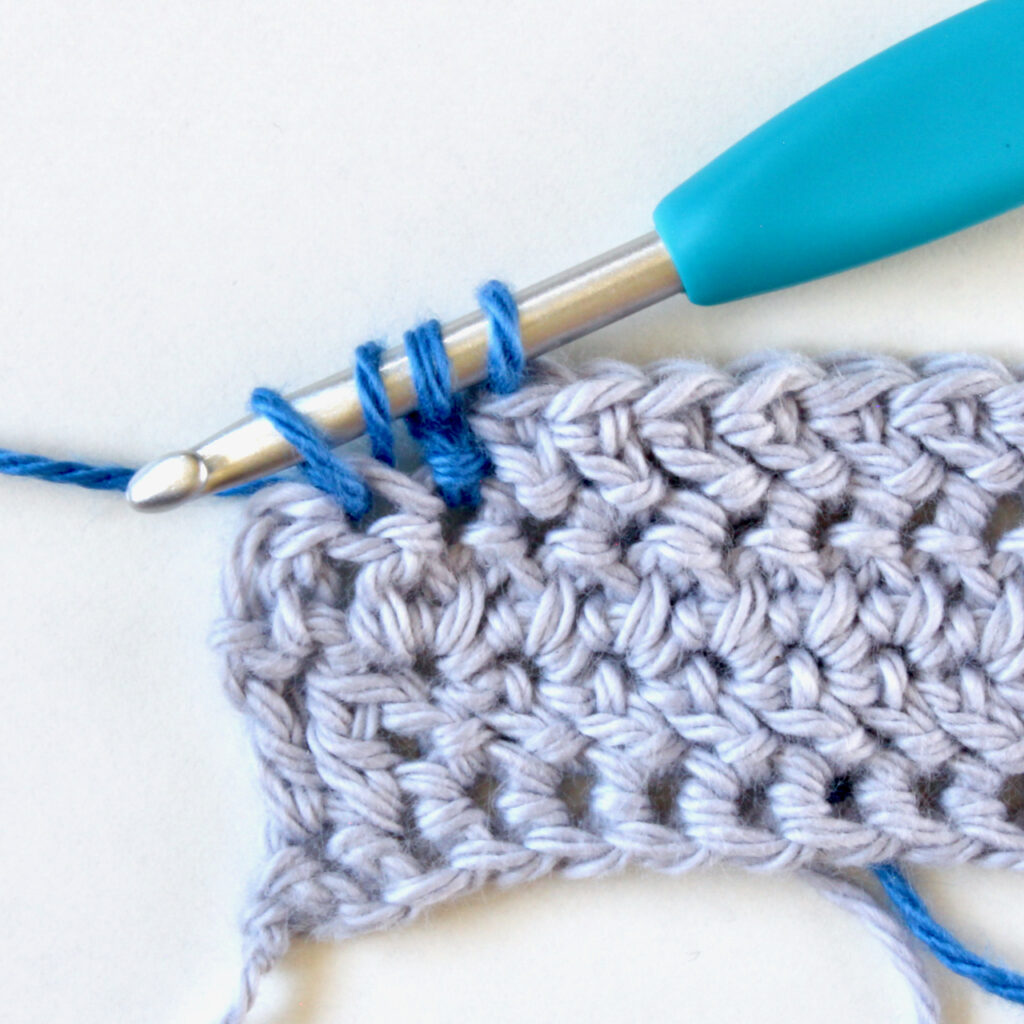
yo, insert hook into next st, yo and pull up a loop (4 loops on hook), *see photo 2
yo and pull through 2 loops (3 loops on hook), *see photo 3, this is the partial dc
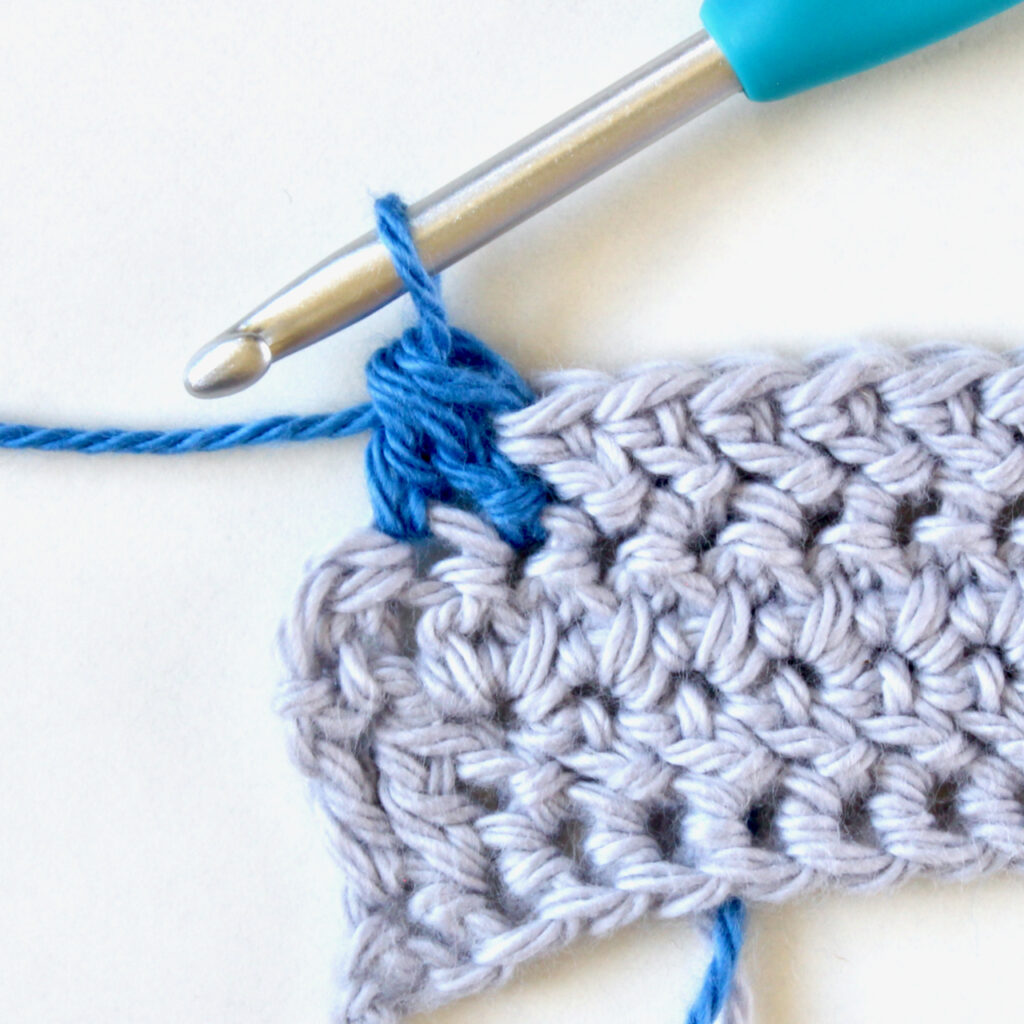
yo and pull through all 3 loops. *see photo 4, this is the together part

Video Tutorial
No audio – best used in conjunction with written instructions.
