
 Today I have a super cute and super usable free pattern for you.
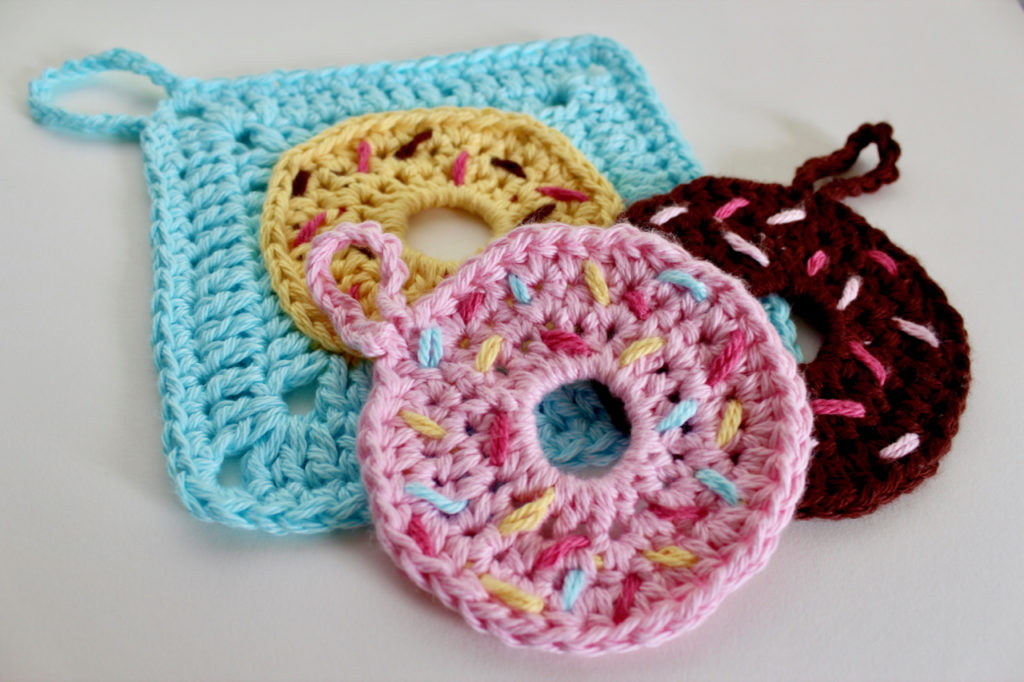
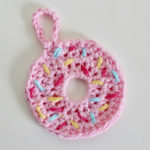
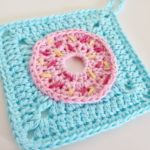
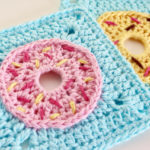
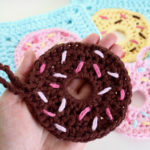
The Donut Face Scrubby and Washcloth Pattern.
Crochet bathroom accessories are awesome! They’re a great way to reduce you impact on the environment as they’re reusable, they’re quick and fun to make and they make great gifts.
These donut face scrubbies and washcloths are even more awesome because, well, because they’re donuts 🍩.
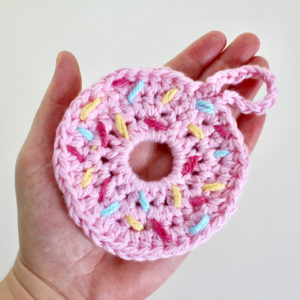
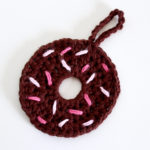
Make a matching set of colourful sprinkle topped donut face scrubbies for yourself or a donut washcloth for your little one in their favourite flavour and see how much more fun washing your face can be.
See below for the face scrubby pattern, followed by the additional rounds to turn it into a washcloth, or purchase an inexpensive PDF (which includes the full photo tutorial) through my Etsy shop here.
Donut Face Scrubby and Washcloth Pattern.
 Hook: 6mm (J)
Yarn: I used 2 strands of Bendigo Woollen Mills 8 ply cotton in Pink Rose, Cola Crush, Daffodil, Blush and Arctic.
You can use any DK weight soft cotton for these scrubbies in whatever colour you like.
If using a different weight yarn you will need to adjust your hook size to match and your end product will vary in size.
Notions: large yarn needle to sew on sprinkles and weave in ends.
US Terms.
- ch – chain
- sl st – slip stitch
- sc – single crochet
- hdc – half double crochet
- dc – double crochet
- dmc – Double Magic Circle
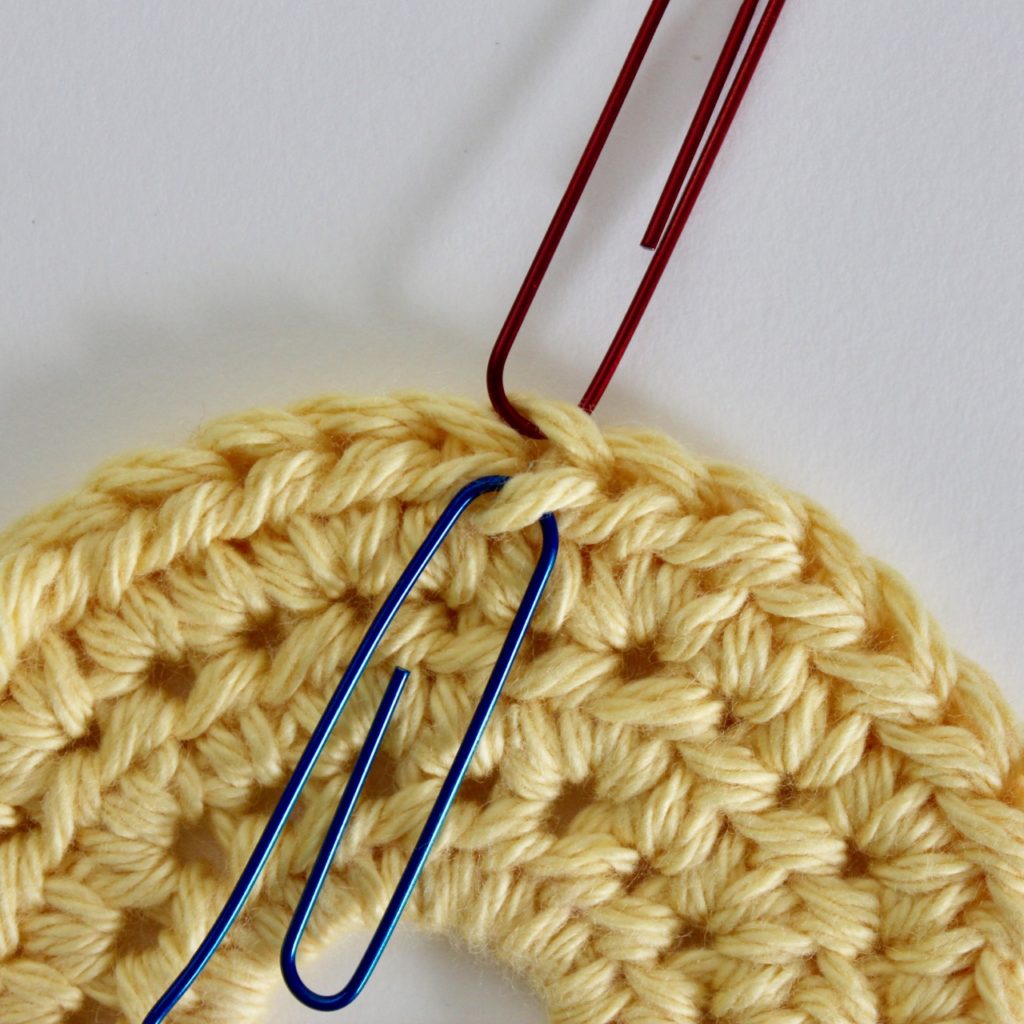
- 3rd loop – this is the loop behind the back loop. You can use the back loop instead if you prefer. *see photos 9 and 10 below for the difference in how they look.
Begin with a loose Double Magic Circle. Click the link for a tutorial on how to do this.
Round 1.
Ch 2 (counts as hdc),
hdc into dmc 19 times.
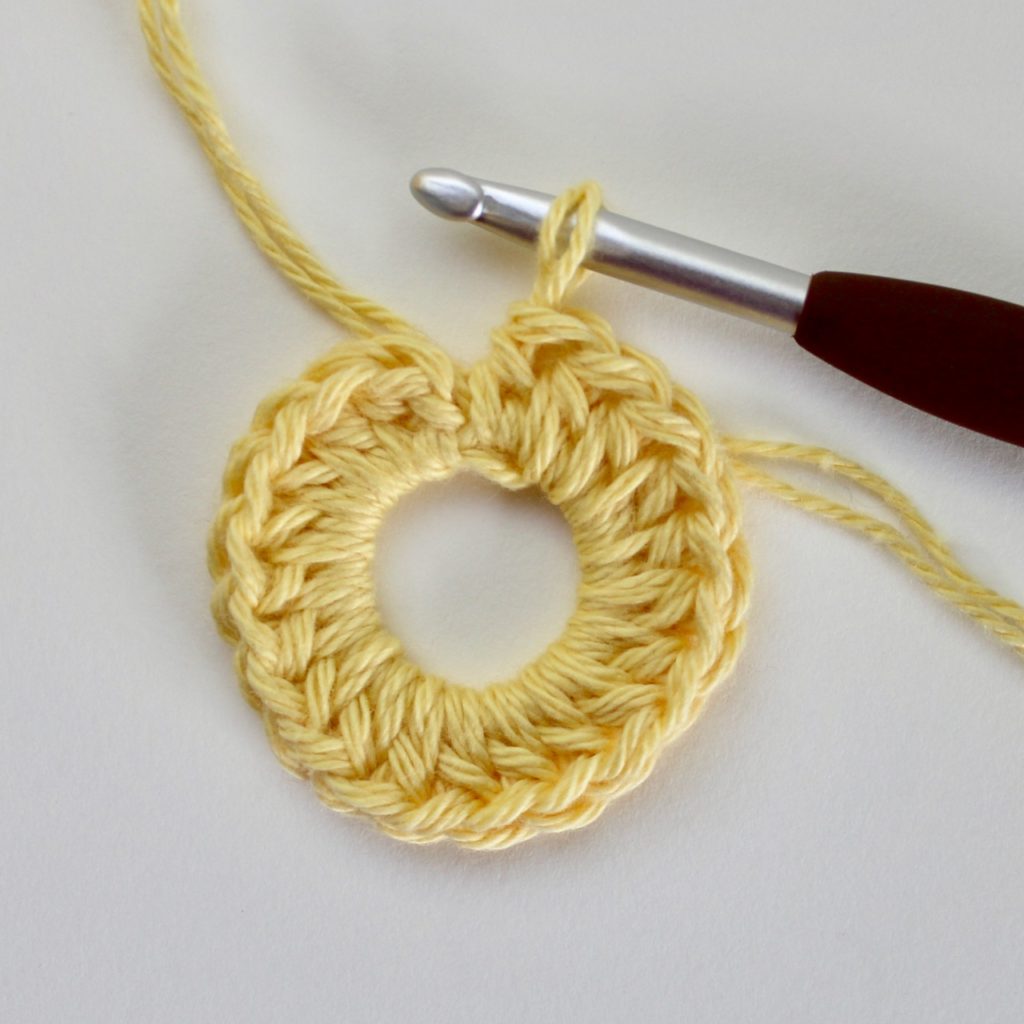
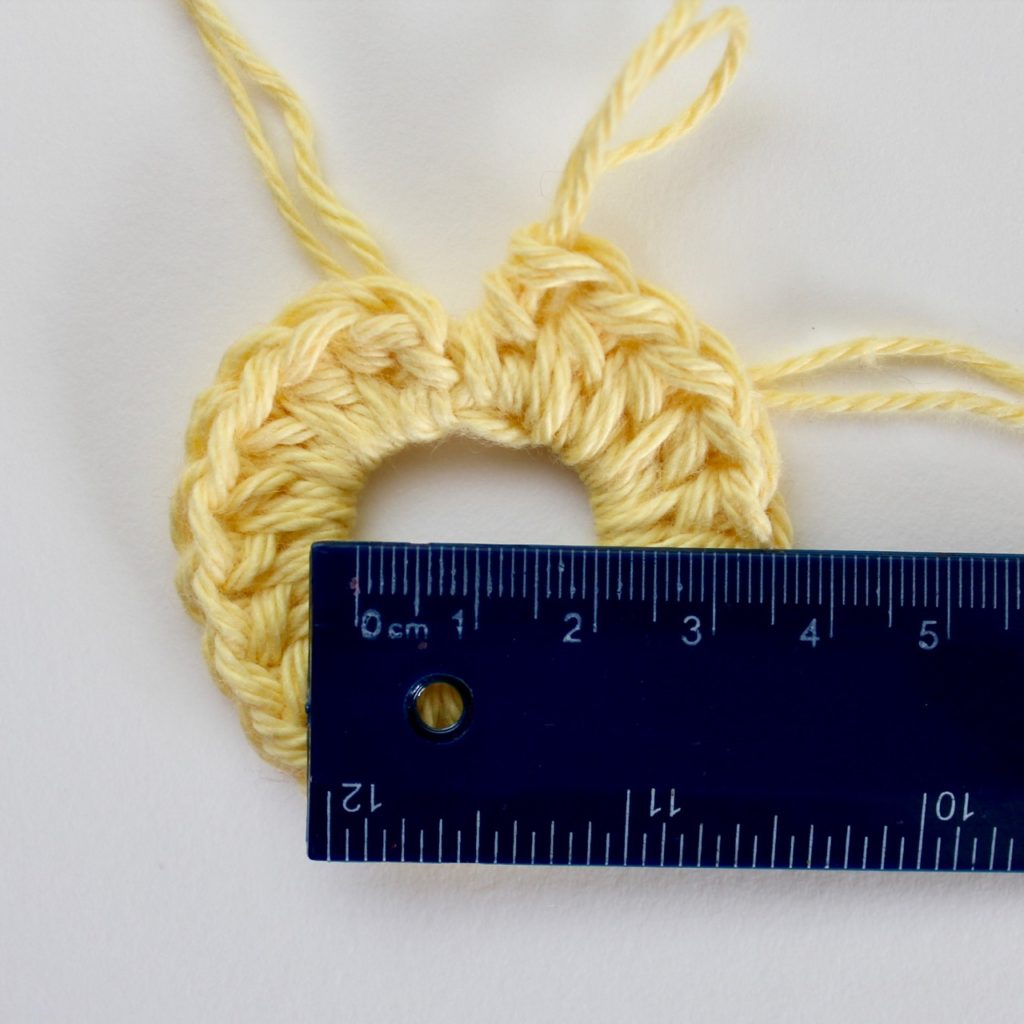
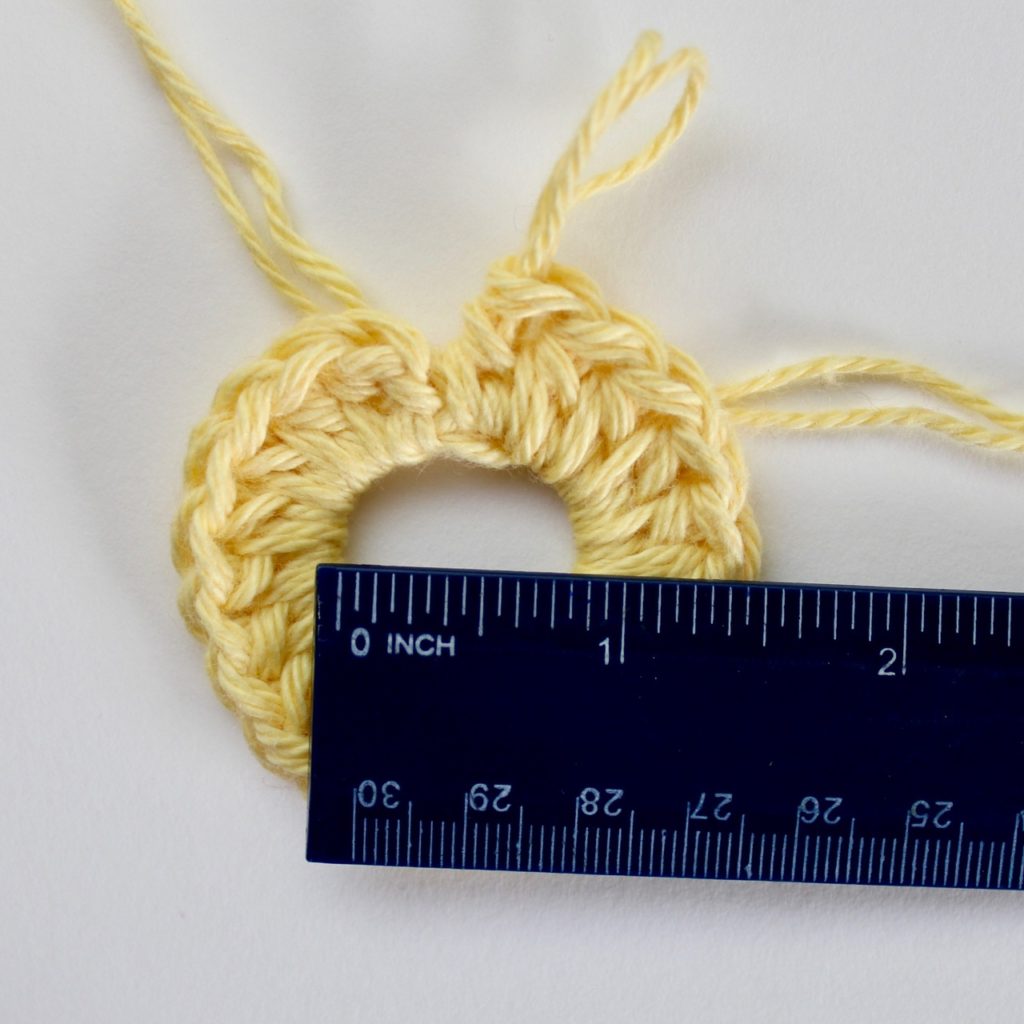
Pull long tail to close dmc until it is about 23mm (7/8ths of an inch) in diameter. Do not pull too tight or your stitches may buckle, it is better to keep it looser and tighten it a bit more at the very end. *see photos 1-3 below.
Join to 2nd ch with a sl st.
(20 hdc)
Round 2.
Ch 2 (counts as hdc),
2 hdc in the next st,
(hdc in the next st, 2 hdc in the next st) 9 times.
Join to 2nd ch with a sl st.
(30 hdc)
Round 3.
Ch 2 (counts as hdc),
hdc in the next st,
2 hdc in the next st,
(hdc in the next 2 sts, 2 hdc in the next st) 9 times.
Join to 2nd ch with a sl st if making a face scrubby. Break yarn and join with an invisible join if making a washcloth.
(40 hdc)
Round 4. Face scrubby.
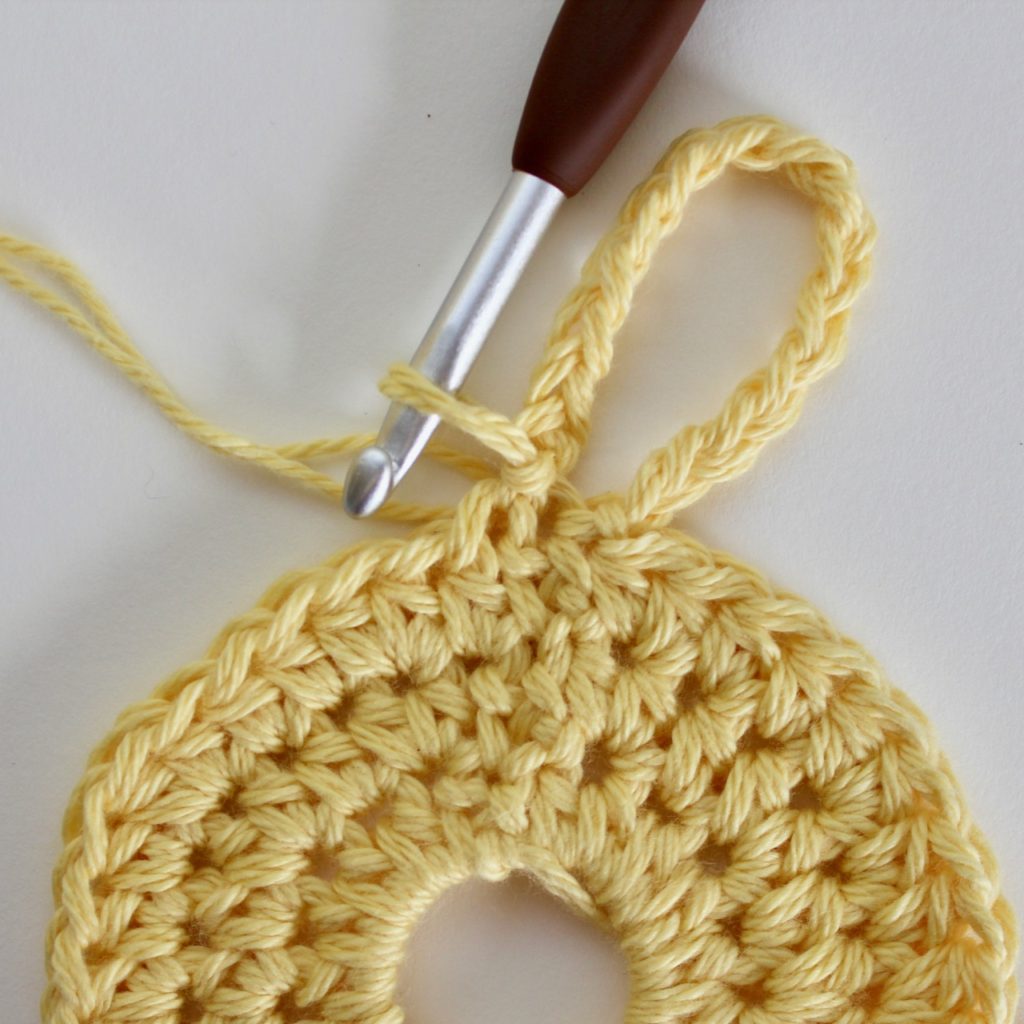
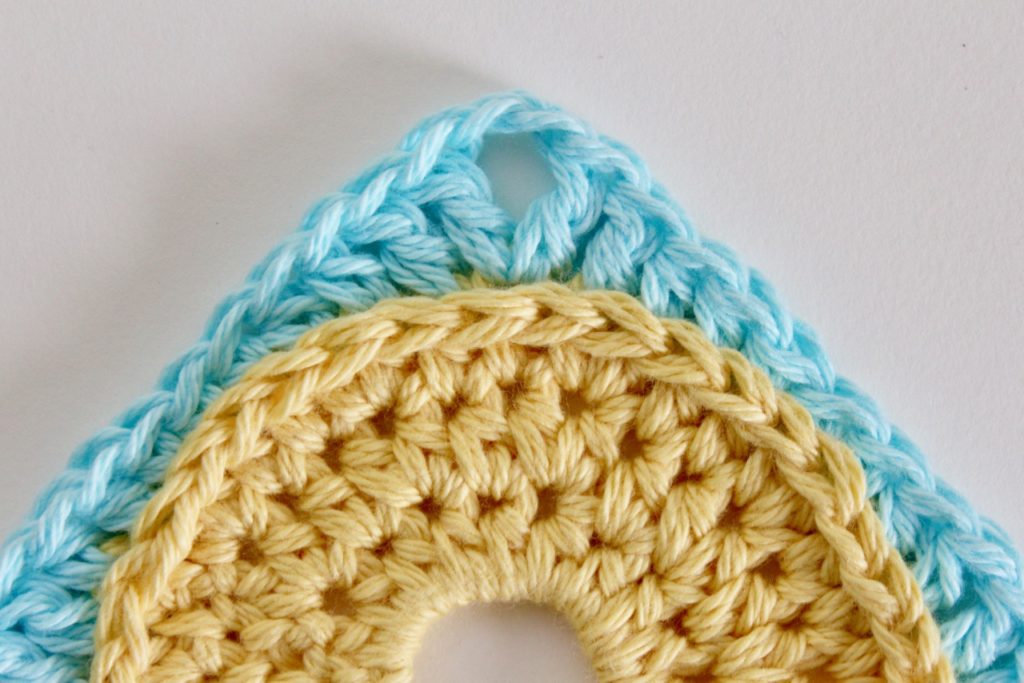
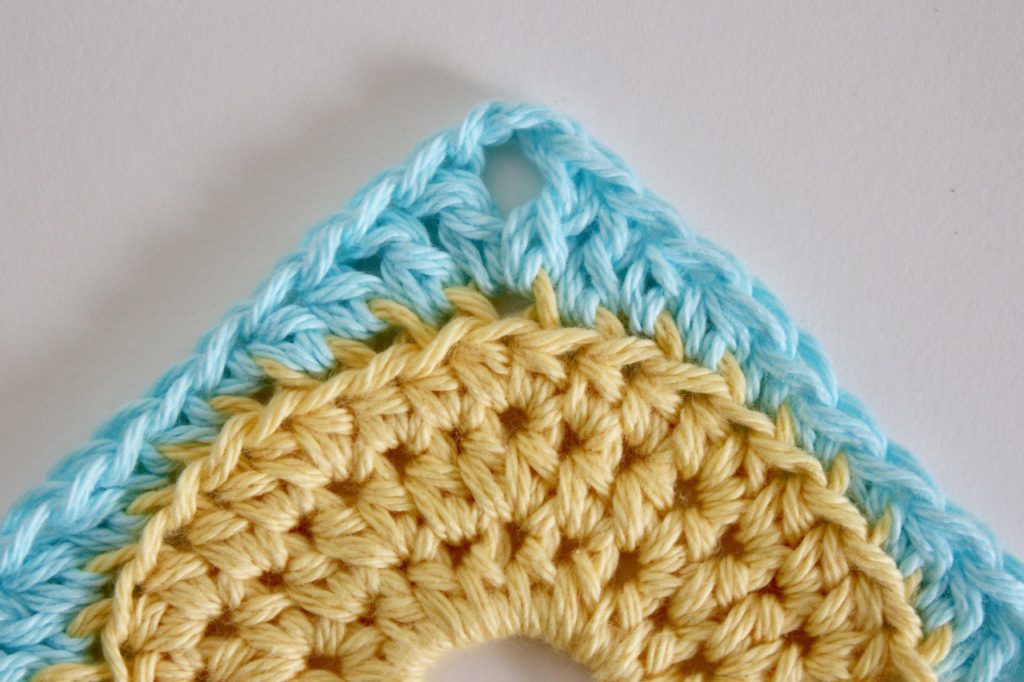
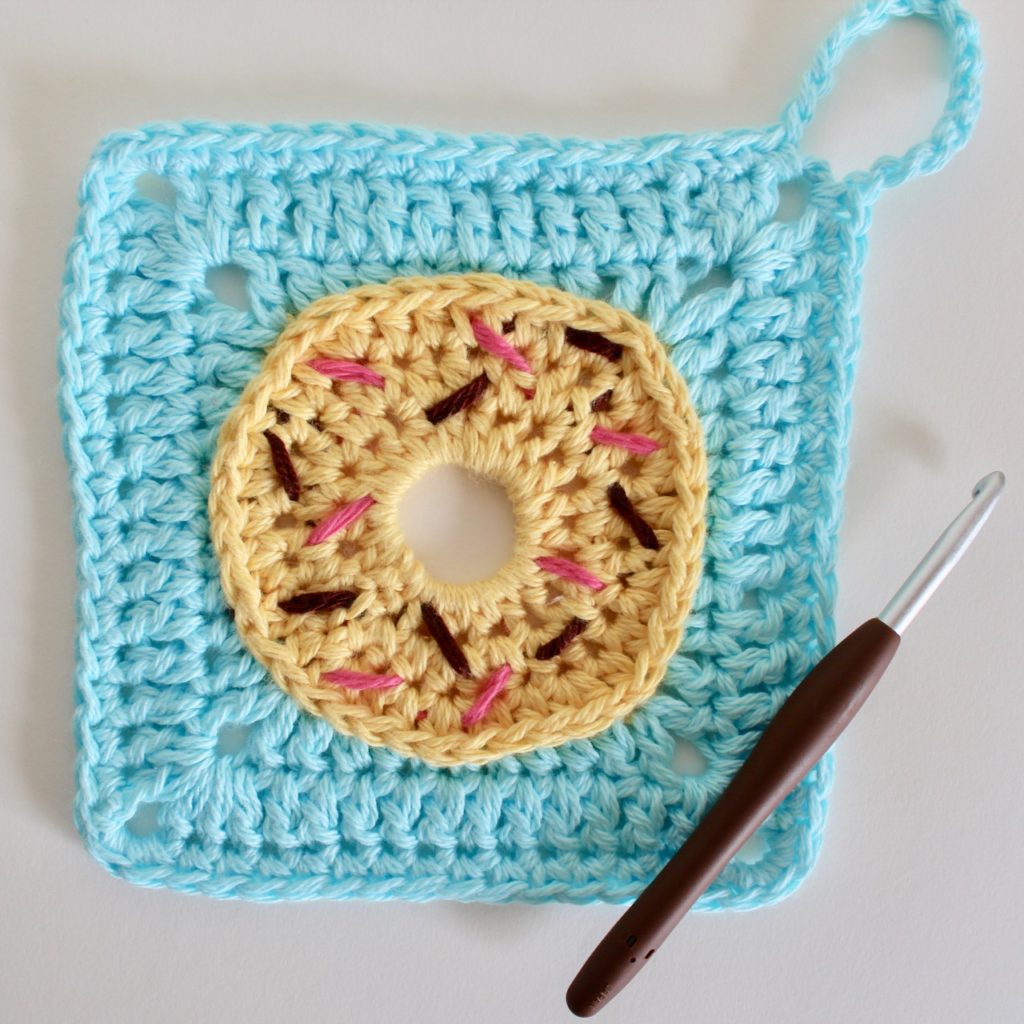
Hanging loop for face scrubby. *see photos 4 and 5 below.
Ch 15,
sl st into the same st as the sl st join.
Break yarn and weave in ends.
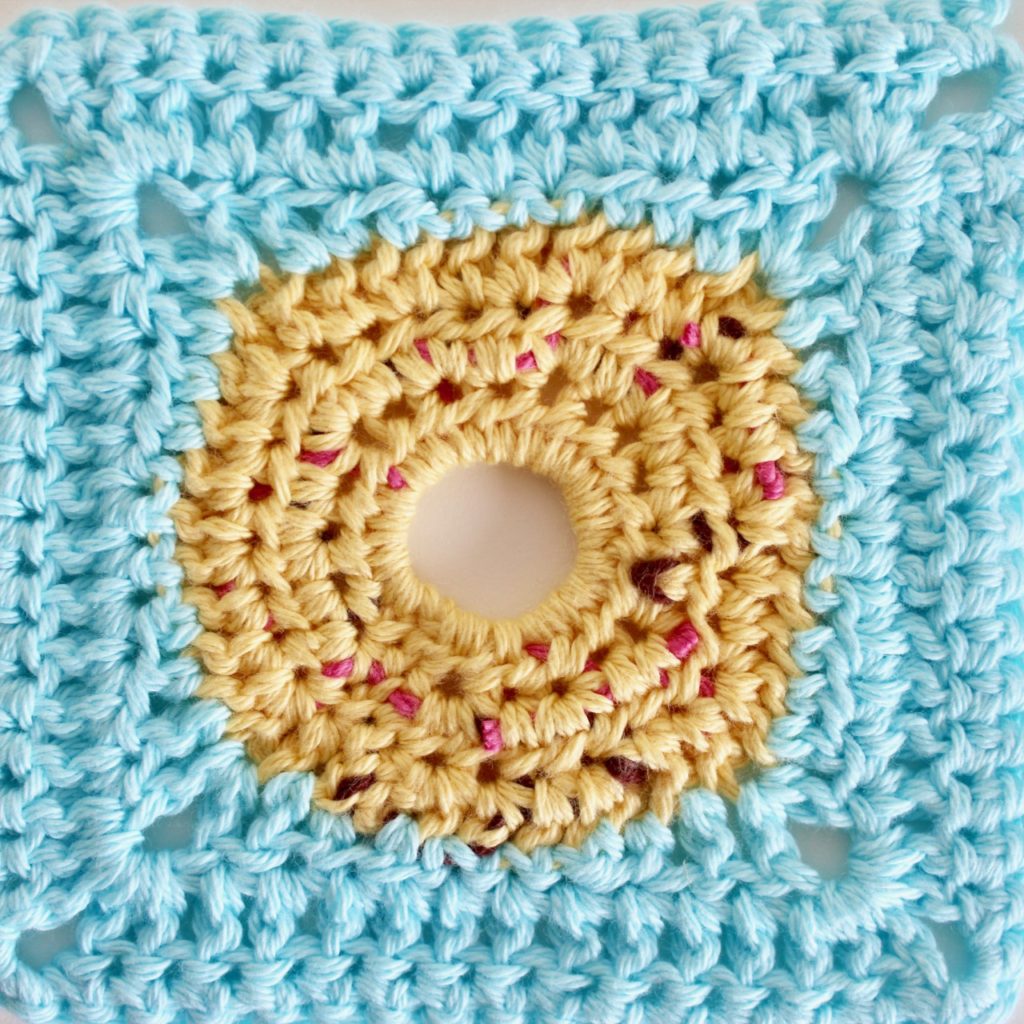
Round 4. Washcloth
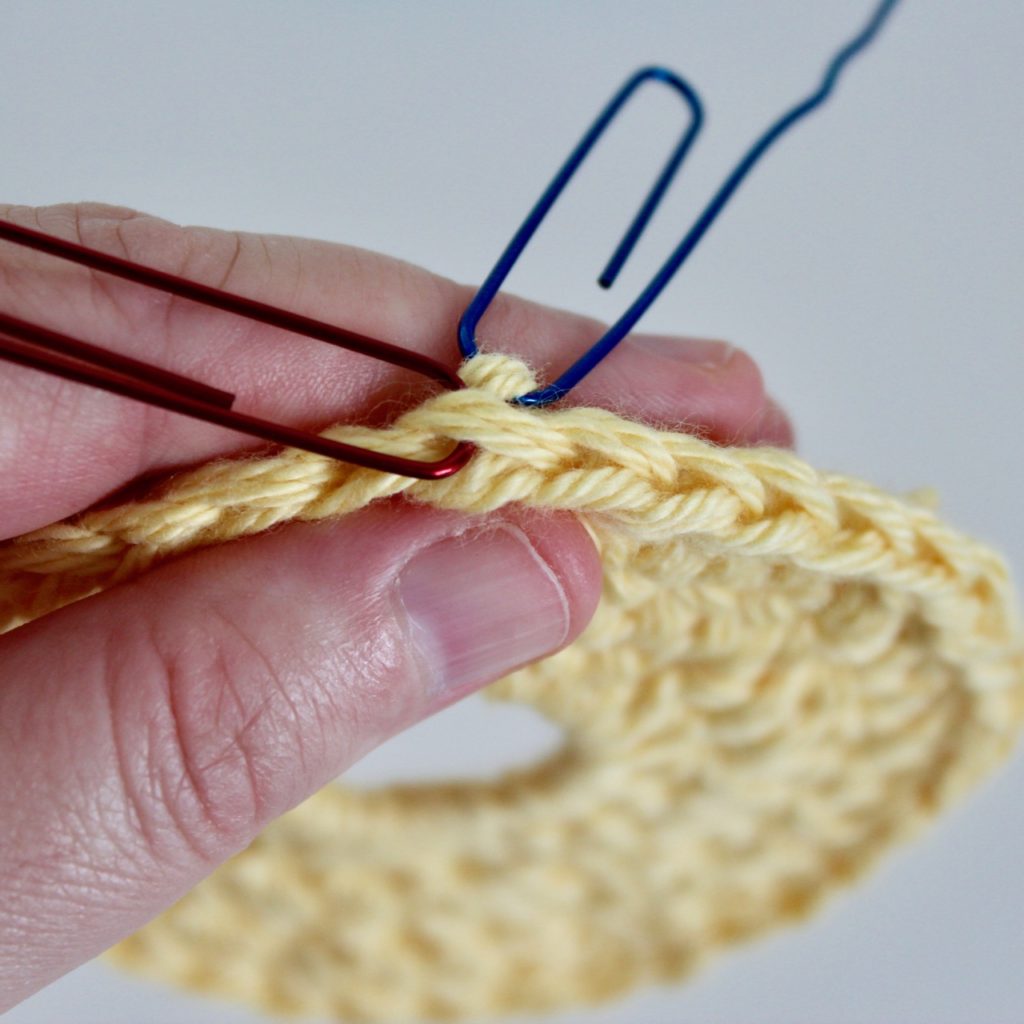
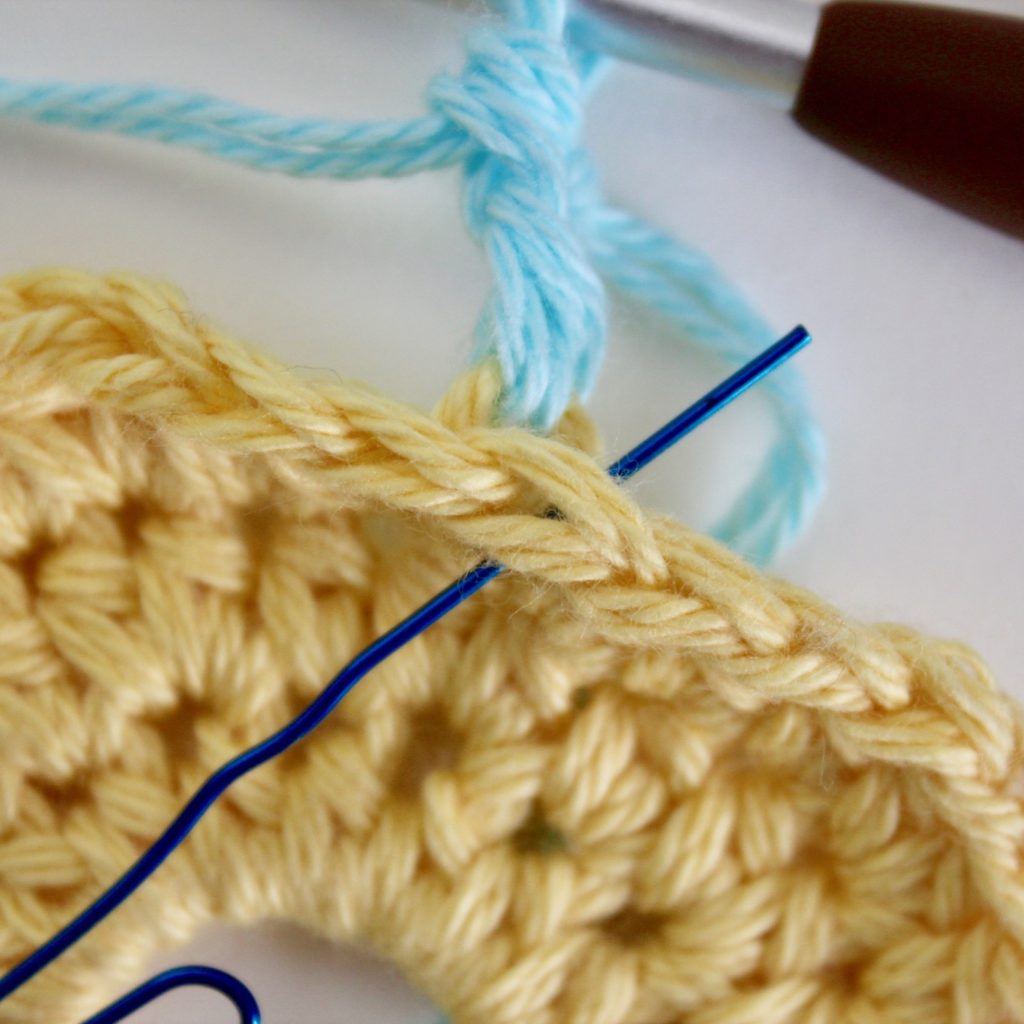
This round is done in the 3rd loop to create a nice edge around the donut. You can do this round in the back loop (blo) if you prefer. *see photos 6-8 for help with this.
Standing dc in 3rd loop (or back loop) of any st,
{ dc in the next st,
hdc in the next 2 sts,
sc in the next 3 sts,
hdc in the next 2 sts,
dc in the next 2 sts,
ch 2, *corner
dc in the same st as the last dc } *see photo 11 below
Repeat from { to } 3 times, omitting the last dc on the last repeat.
Join to 1st dc with a sl st.
(12 sc, 16 hdc, 16 dc, 4 ch 2 sps)
Round 5.
Ch 3 (counts as a dc)
dc in the next 10 sts,
{ (2 dc, ch 2, 2 dc) in the ch 2 sp,
dc in the next 11 sts } *don’t miss the first dc after the ch 2 corner.
Repeat from { to } 2 times.
(2 dc, ch 2, 2 dc) in the ch 2 sp.
Join to the 3rd ch with a sl st.
(60 dc, 4 ch 2 sps)
Round 6
Sc in the st with the sl st join,
sc in the next 12 sts,
{ 3sc in the ch 2 sp,
sk first dc after ch 2 sp,
sc in the next 14 sts }
Repeat from { to } 2 times,
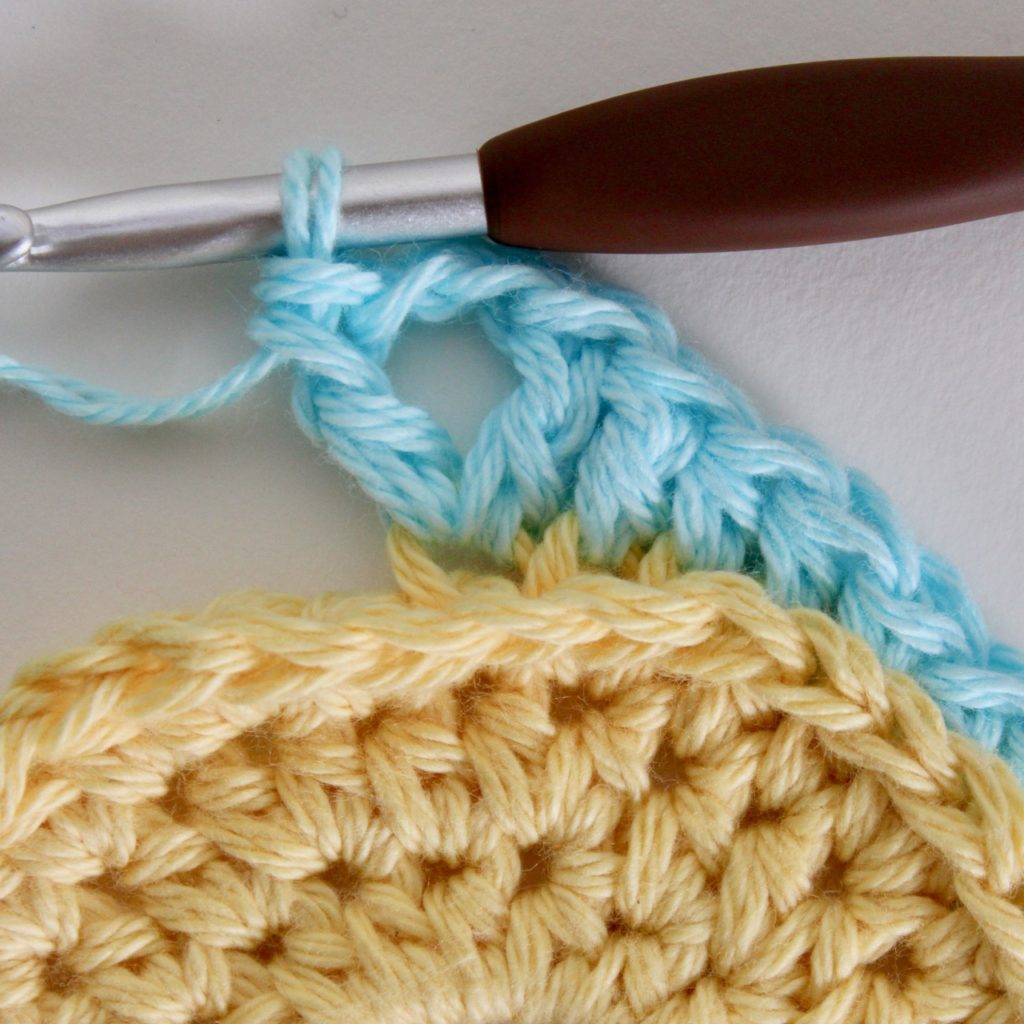
sc in the ch 2 sp,
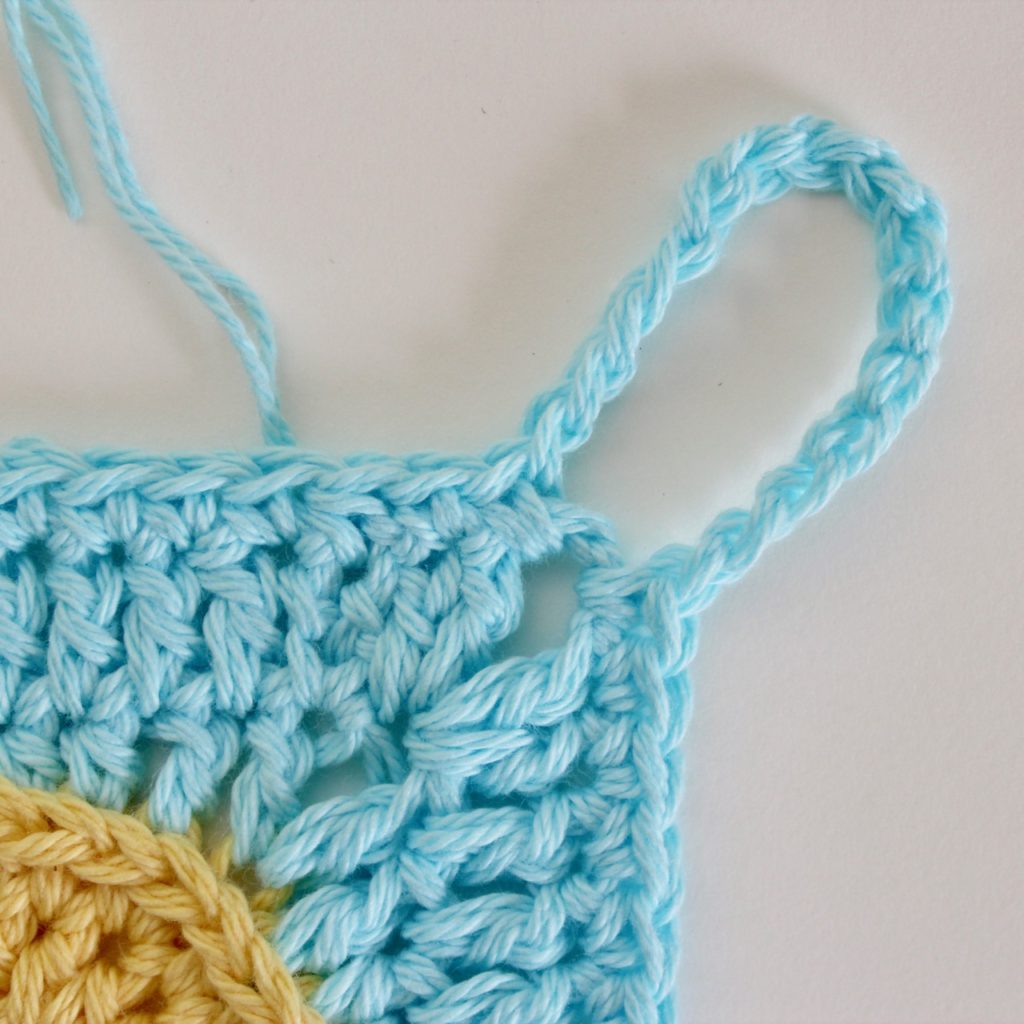
ch 15,
sc in the same ch 2 sp, *see photo 12 below.
sk first dc after ch 2 sp,
sc in the next st.
Break yarn and join with an invisible join.
Weave in ends.
(71 sc, ch 15 loop)

Sprinkles!
I used 2 strands of my sprinkle colours so that I have nice big obvious sprinkles.
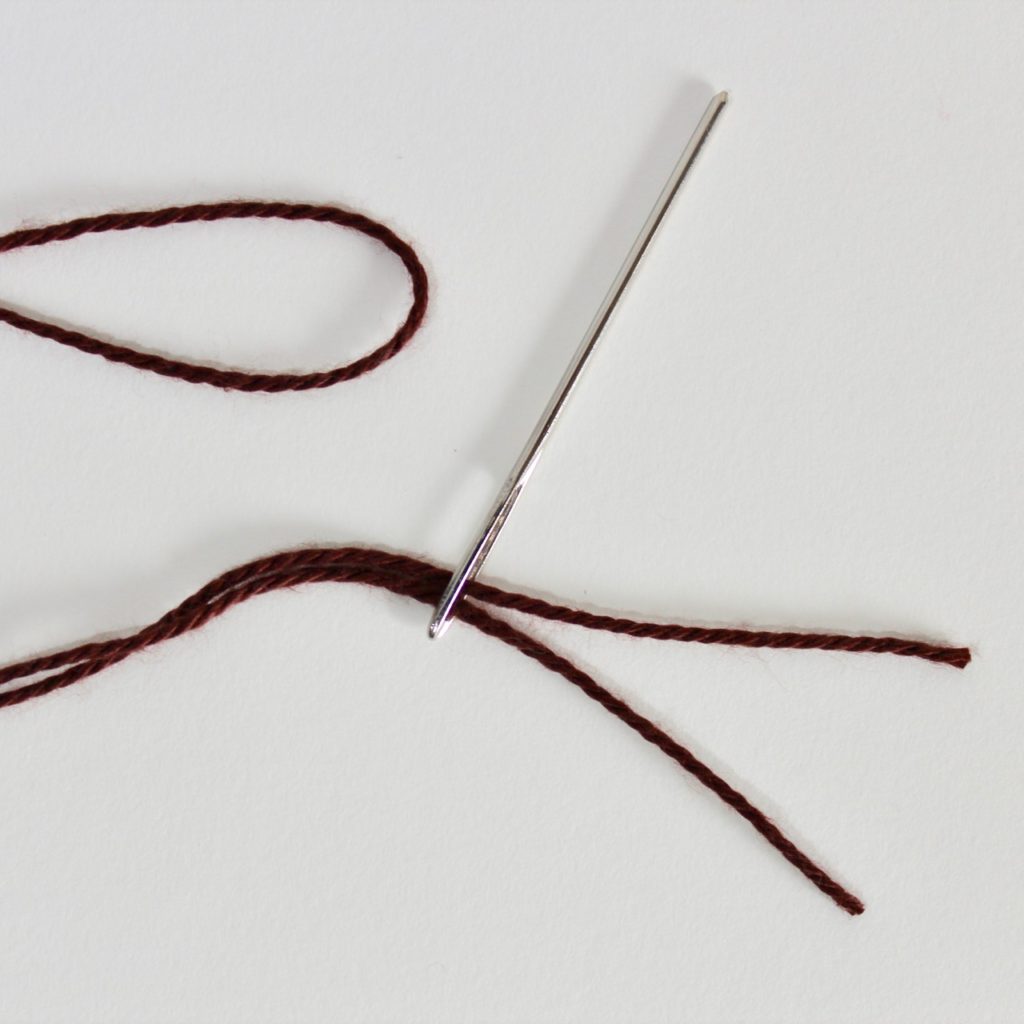
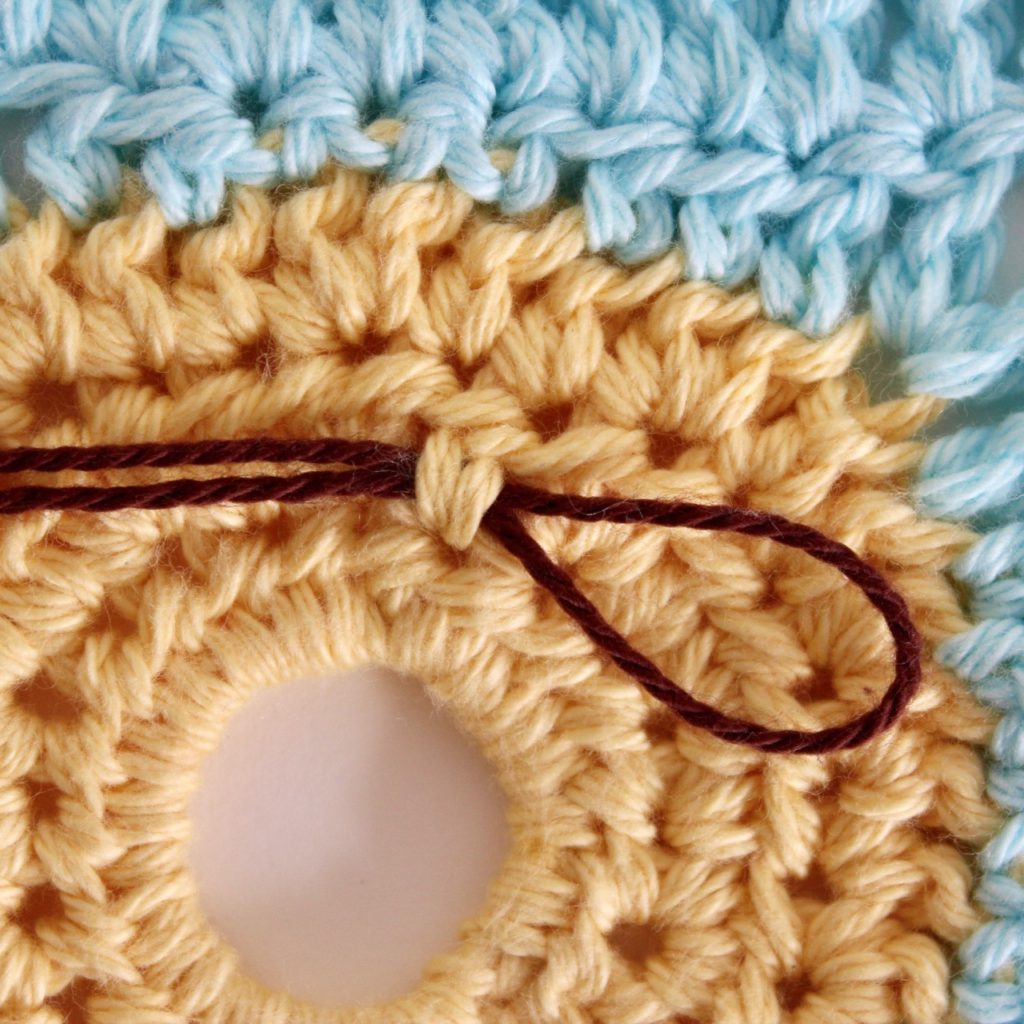
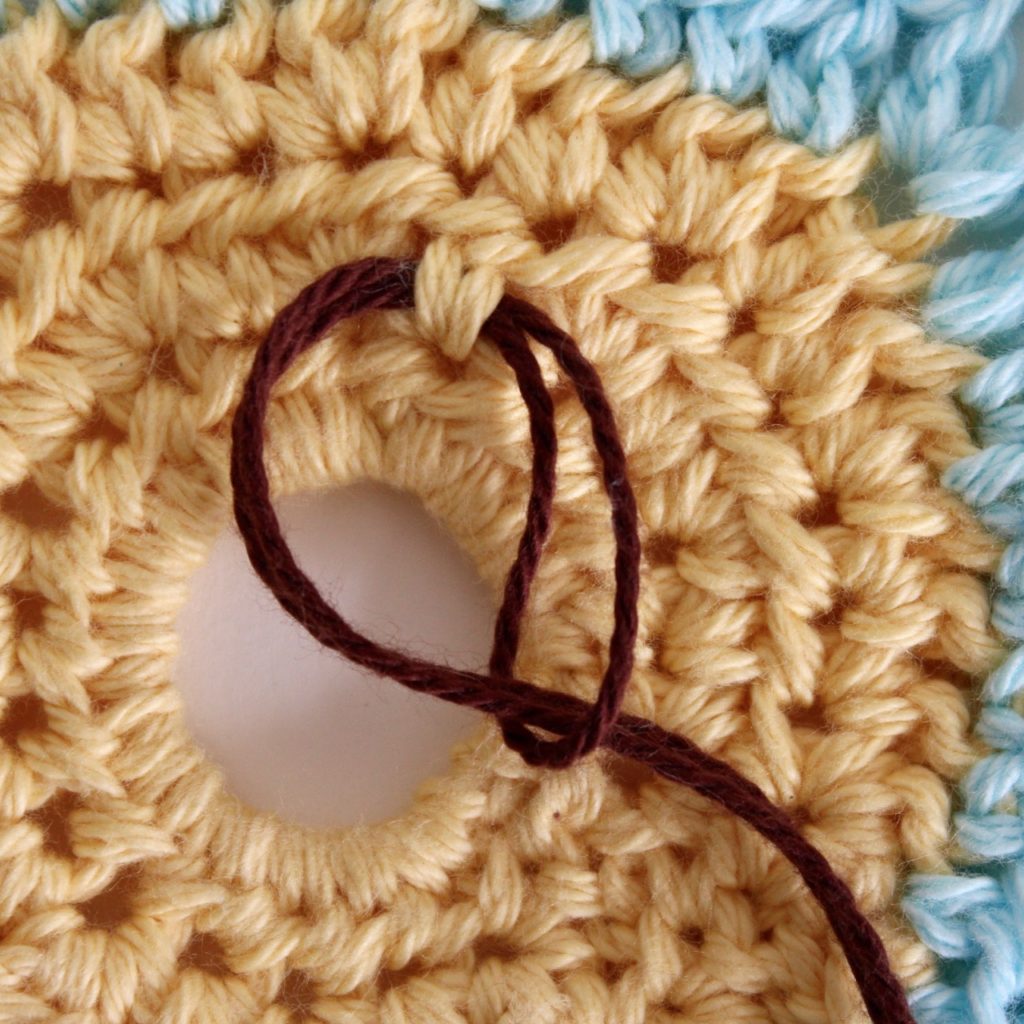
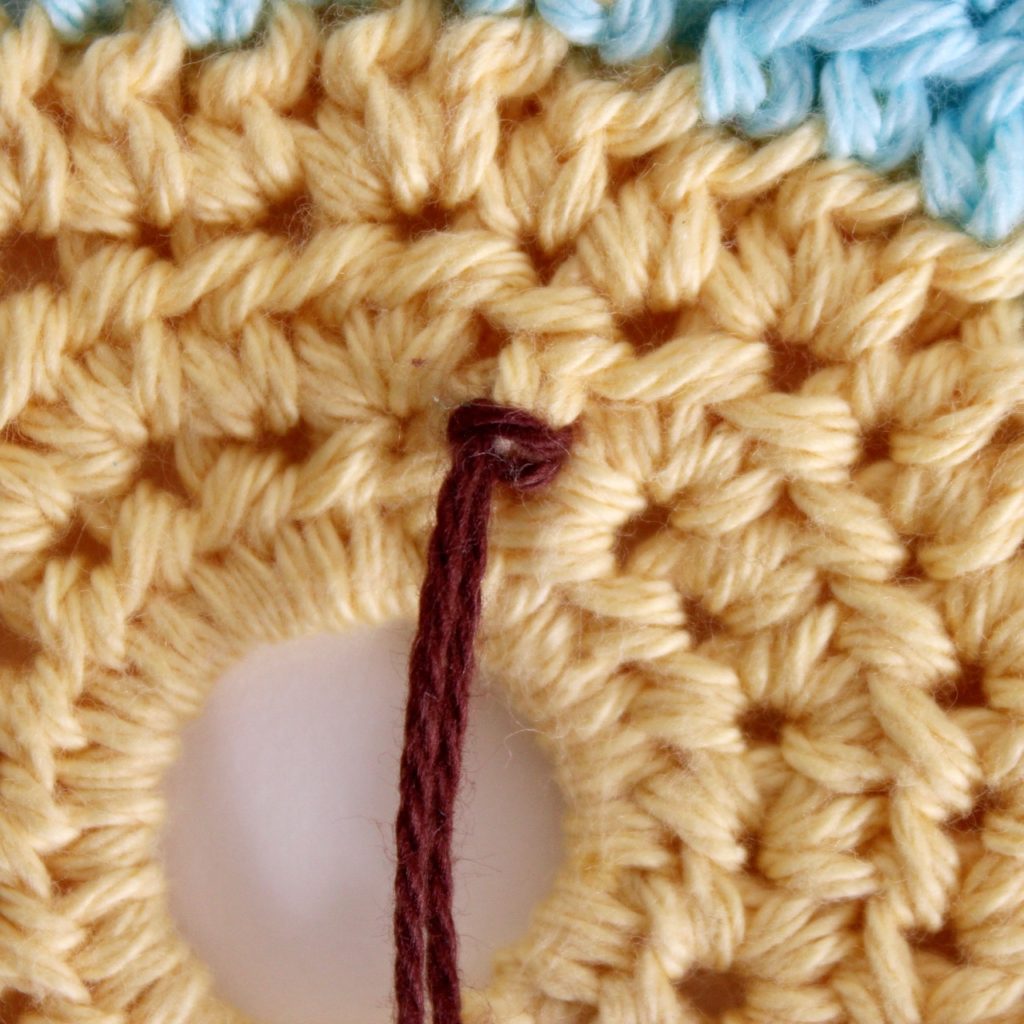
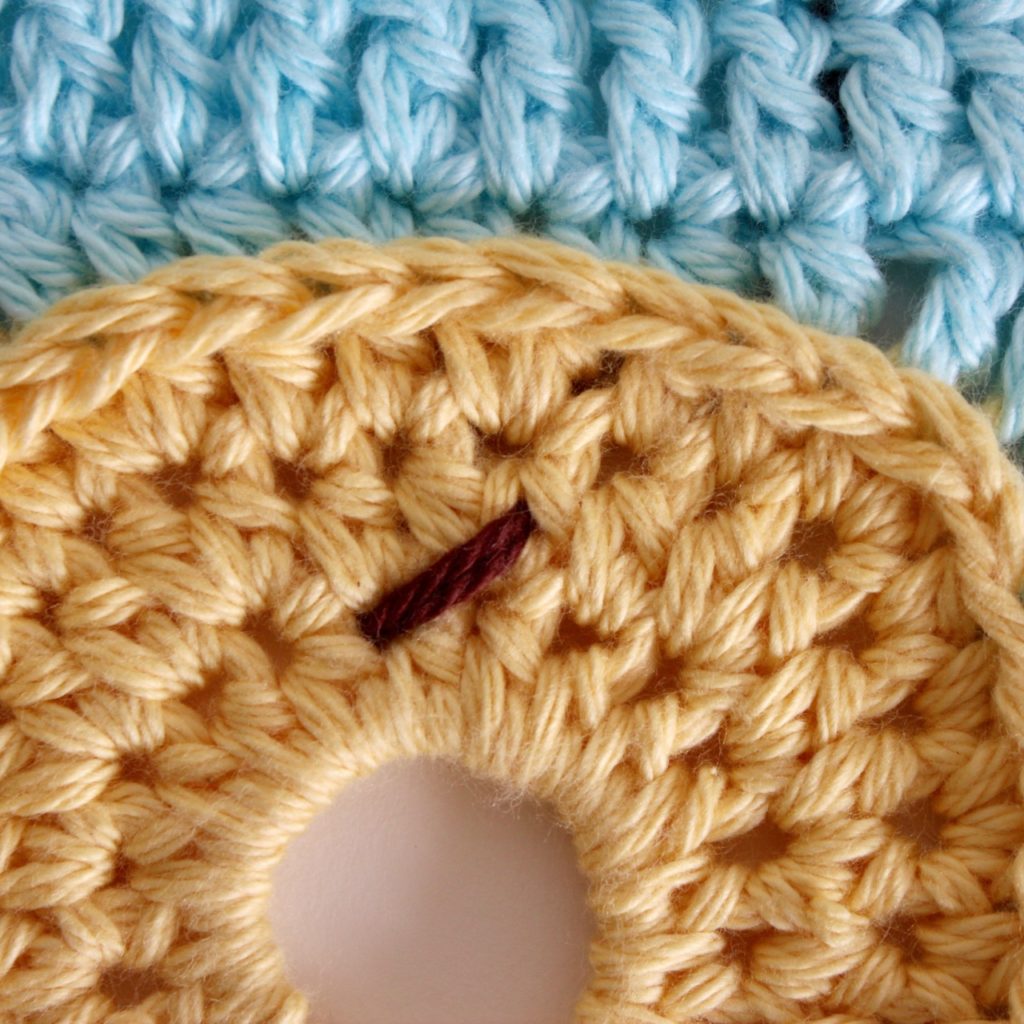
I cut a nice long piece (~100 cms or 39 inches), then thread both ends through my yarn needle leaving a long loop. I then use this loop to secure the first stitch without a knot by weaving my needle through a stitch on the back of the donut, and then through the loop and pulling it tight. *see photos below
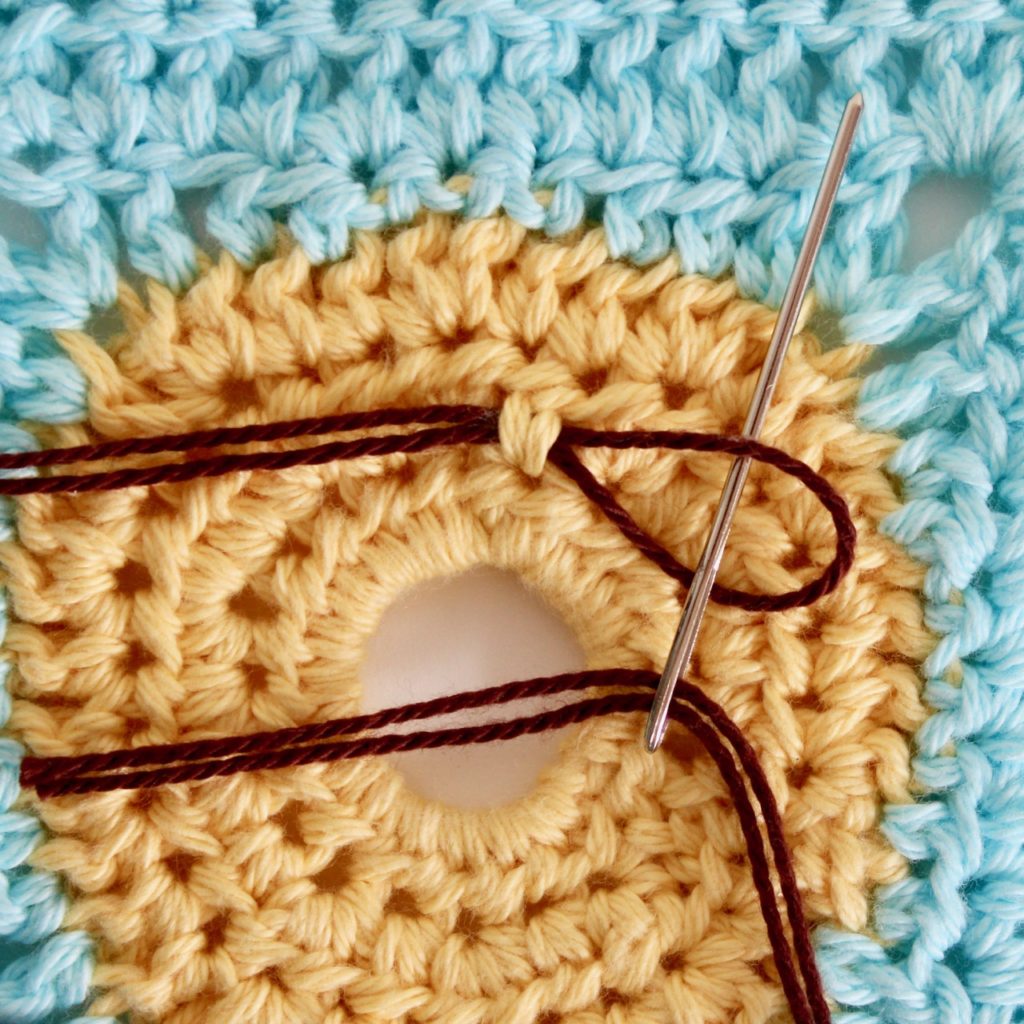
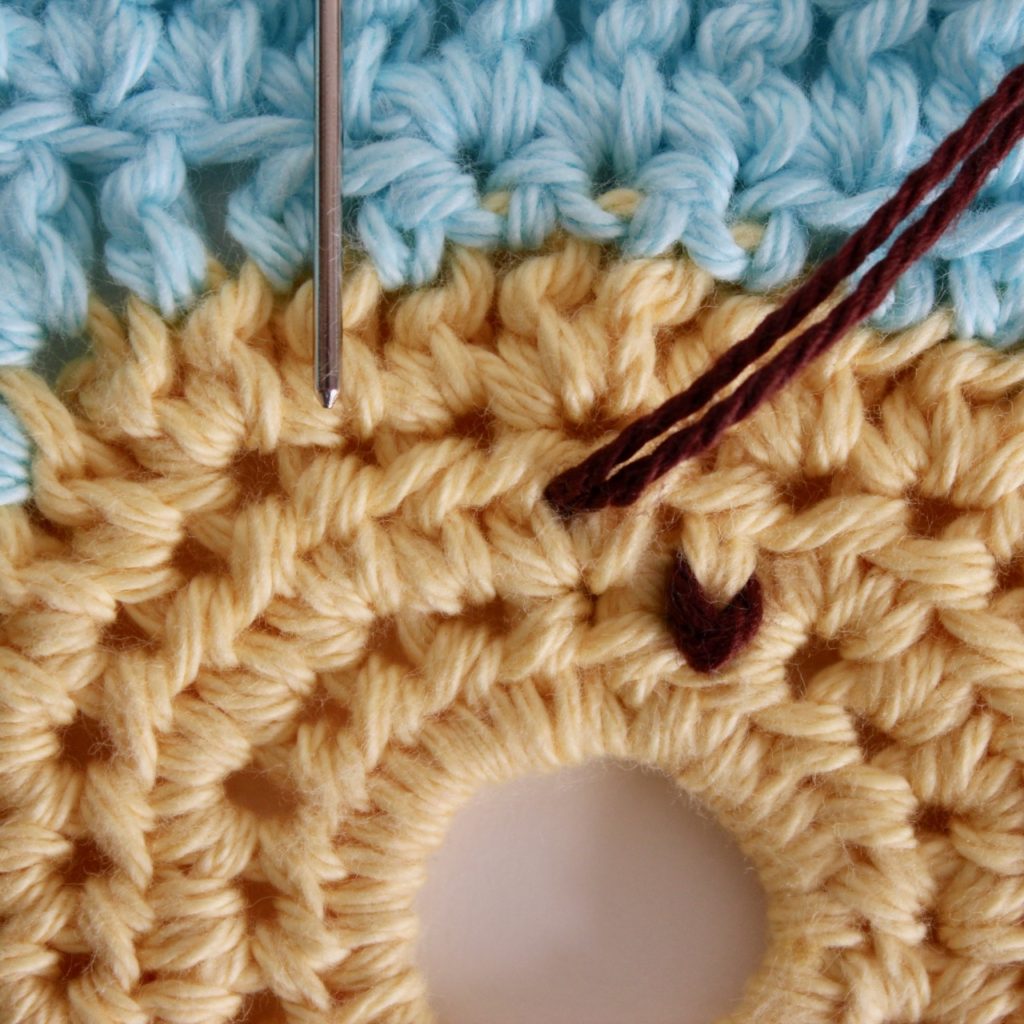
Next push your needle through to the front of your donut, pick where you want the sprinkle to end and thread it back through to the back again.
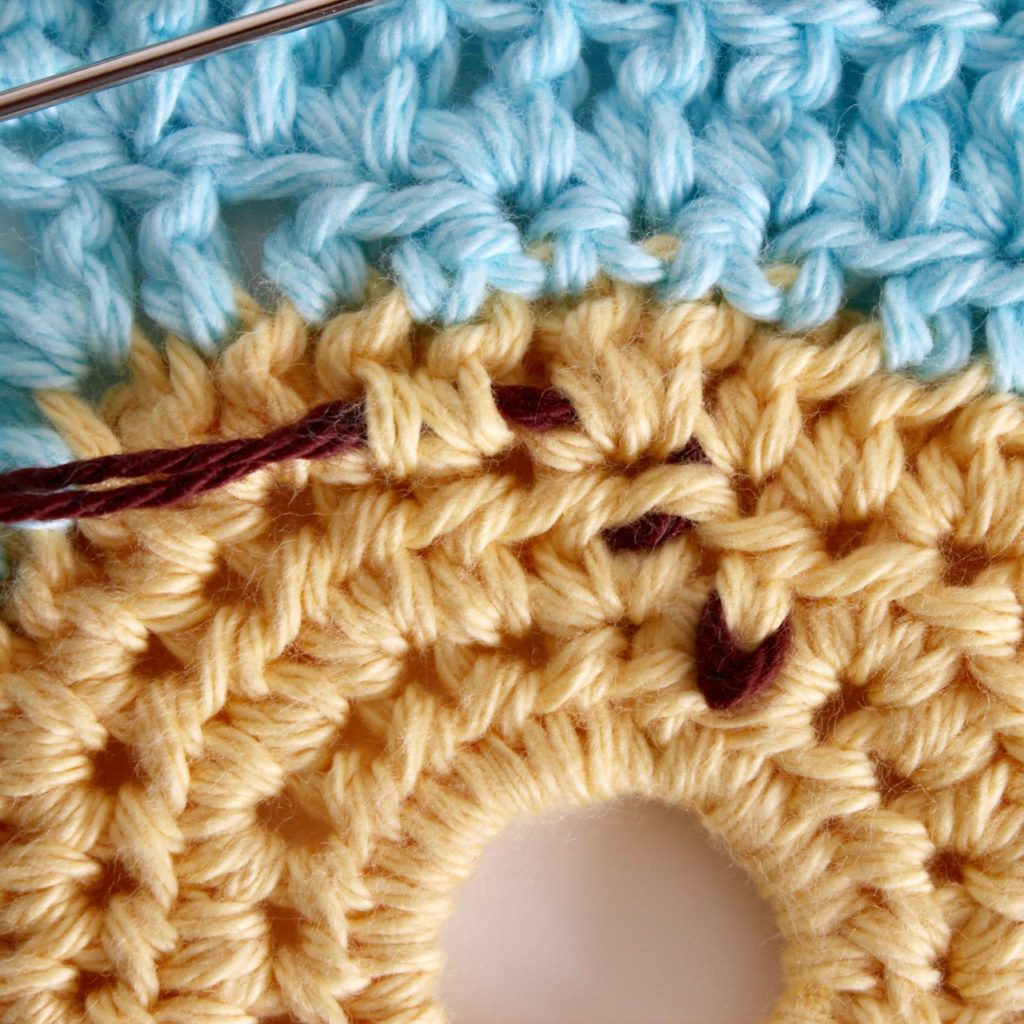
To help keep the back a bit neater, I weave the yarn through the back of the stitches to get to the place I want my next sprinkle to begin. *see photos below
To finish the sprinkles I tie a knot through the back of one of the stitches, weave the end through a bit and cut the yarn.
You can do as many different coloured sprinkles as you like. I have done 2 or 3 colours for mine. I find that sewing on the sprinkles takes longer than crocheting the donut but they’re totally worth it as they really create the donut look!
You can purchase an inexpensive, downloadable, printable PDF version of this pattern in my Etsy shop here if you would like to use this pattern offline.
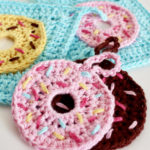
 So get a start on some Christmas gifts with these super fun Donut Face Scrubbies and Washcloths.
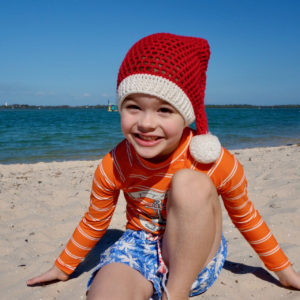
Looking for some other handmade Christmas gift inspiration? Why not consider the cool and comfy Slouchy Summer Santa Hat, modelled here by my son who inspired this design. This pattern comes with 9 different sizes from Newborn to Larger Adult, so you can make a Santa hat that everyone in your family will actually want to wear.
If you make a Donut Face Scrubby or Washcloth I’d love to see it. Just tag @VividKreations on Instagram or @VK.VividKreations on Facebook to share.
Have fun 😊
